Virtual Address Activation Guide
Getting Ready for the Notary Process
Completing the notary process is a crucial step in activating your virtual business address. To make this as smooth as possible, simply follow this guide—that way the entire process should only take a few minutes.
- Note: If your LLC has multiple signers (AKA owners), all signers must be present during the session and provide their own photo ID and proof of address.
- Prepare for Your Notary Session
Before starting your session, you’ll need:
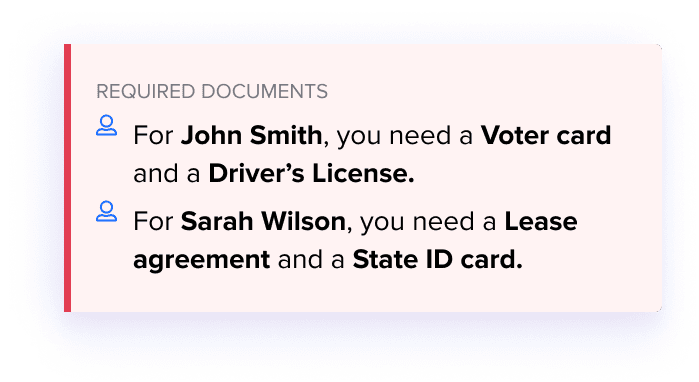
One of each type of ID—just make sure they match the documents you selected in the application form:
1. Proof of address
2. A valid photo ID
- Not sure which ones you picked?:
You can quickly check them in the Virtual Address & Mailbox section of your LLC Dashboard:


- Enter NotaryLive and Upload Your Documents
1. Go to NotaryLive and start the session.
2. Upload your proof of address first (photo ID comes later).
- Note: If there’s more than one signer - use the "Add More" option.

- Identity Verification Steps
To proceed with the notary session, you’ll need to:
1. Approve camera and microphone access for the online call.

2. Verify your ID:
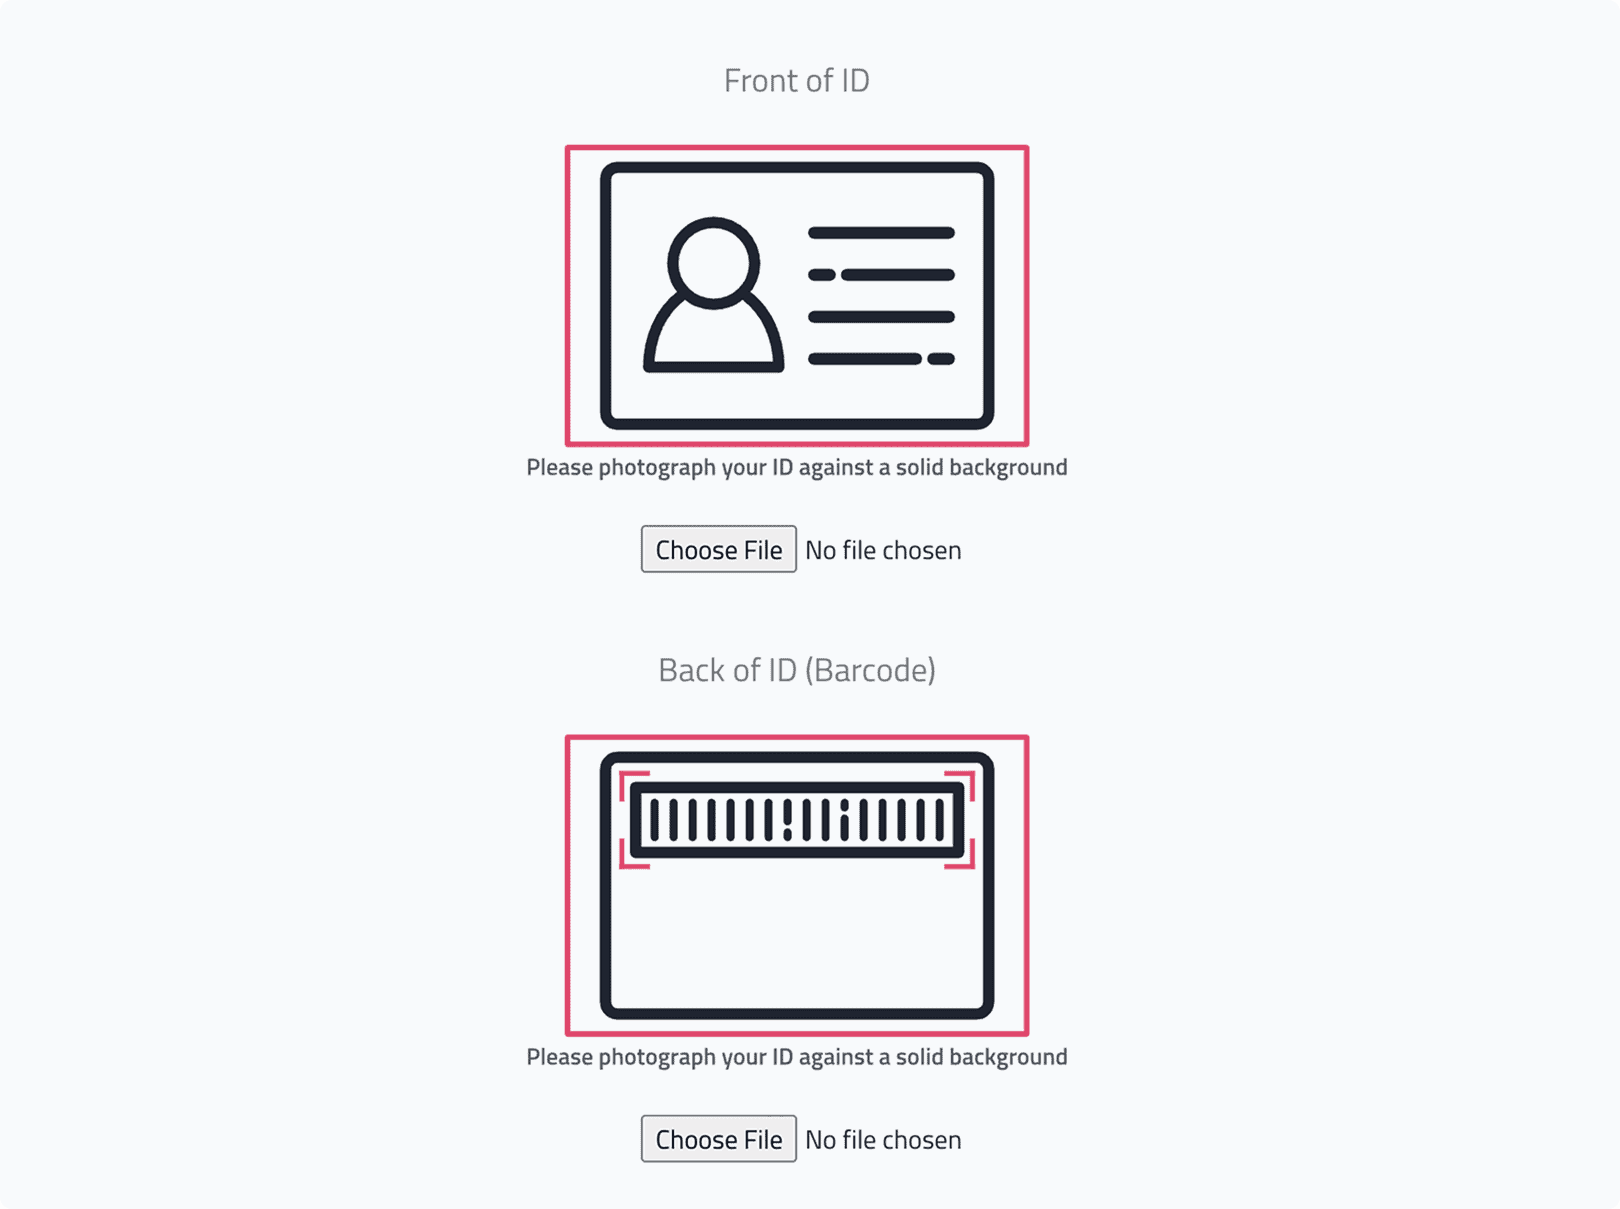
- Upload your photo ID.
- Wait for verification.

3. Pass a security check: Answer a few knowledge-based questions to confirm your identity or complete a quick biometric check.
- Connect with the Notary
Once you’ve passed the verification, you’ll be connected with a live notary who will:
1. Review your documents
2. Sign the form with you
3. Complete the notarization process
- That’s it!
After a final notary review, your virtual mailbox will be activated, and you will start receiving business mail.
